Sunday, February 26, 2012

Pumpkin Oatmeal Muffins

Now that all of the sticky buns are gone, and we only have about a cup of milk left, we have nothing for breakfast!  On a day like this, I usually see what ingredients I have on hand, and whip up something like pancakes or muffins.  Today I had canned pumpkin left over from Thanksgiving and Christmas last year.  I guess I didn't end up making all of those yummy pumpkiny things that everyone wants to make during the holidays.  I would like to say that I did have a pretty good excuse being 9 months pregnant :)  That brings me to today's  breakfast!  Pumpkin Oatmeal Muffins!  I searched on the internet and found this recipe on food.com.  I love pumpkin muffins, and I really like the addition of oatmeal.  It adds more chew and some great health benefits [to outweigh the cinnamon butter I made for them...yeah I said cinnamon butter]!  Here we go!


Pumpkin Oatmeal Muffins

Here is the link to the recipe.

I don't make a lot of recipes on www.food.com simply because they are are not tested in test kitchens like recipes on Martha Stewart or Food Network.  It's people just like you and me that post their recipes so there can be flaws...but this one actually turned out pretty good! 

Like most muffin recipes, we use the "muffin method" for mixing the ingredients together.  This makes for more of a muffin texture rather than what you would get if you used the "creaming method."  The creaming method is when you add the sugar to the butter and cream the mixture, then you add the eggs, and then the dry ingredients alternating with milk.  The creaming method gives you more of a cupcake than a muffin.  The muffin method in this recipe combines all of the dry ingredients [which I whisked together].  


Then you combine all the wet ingredients. [I used pecans instead of walnuts...yep, I'm a Georgia girl!  We like our pecans!] Then you add the wet to the dry and combine.


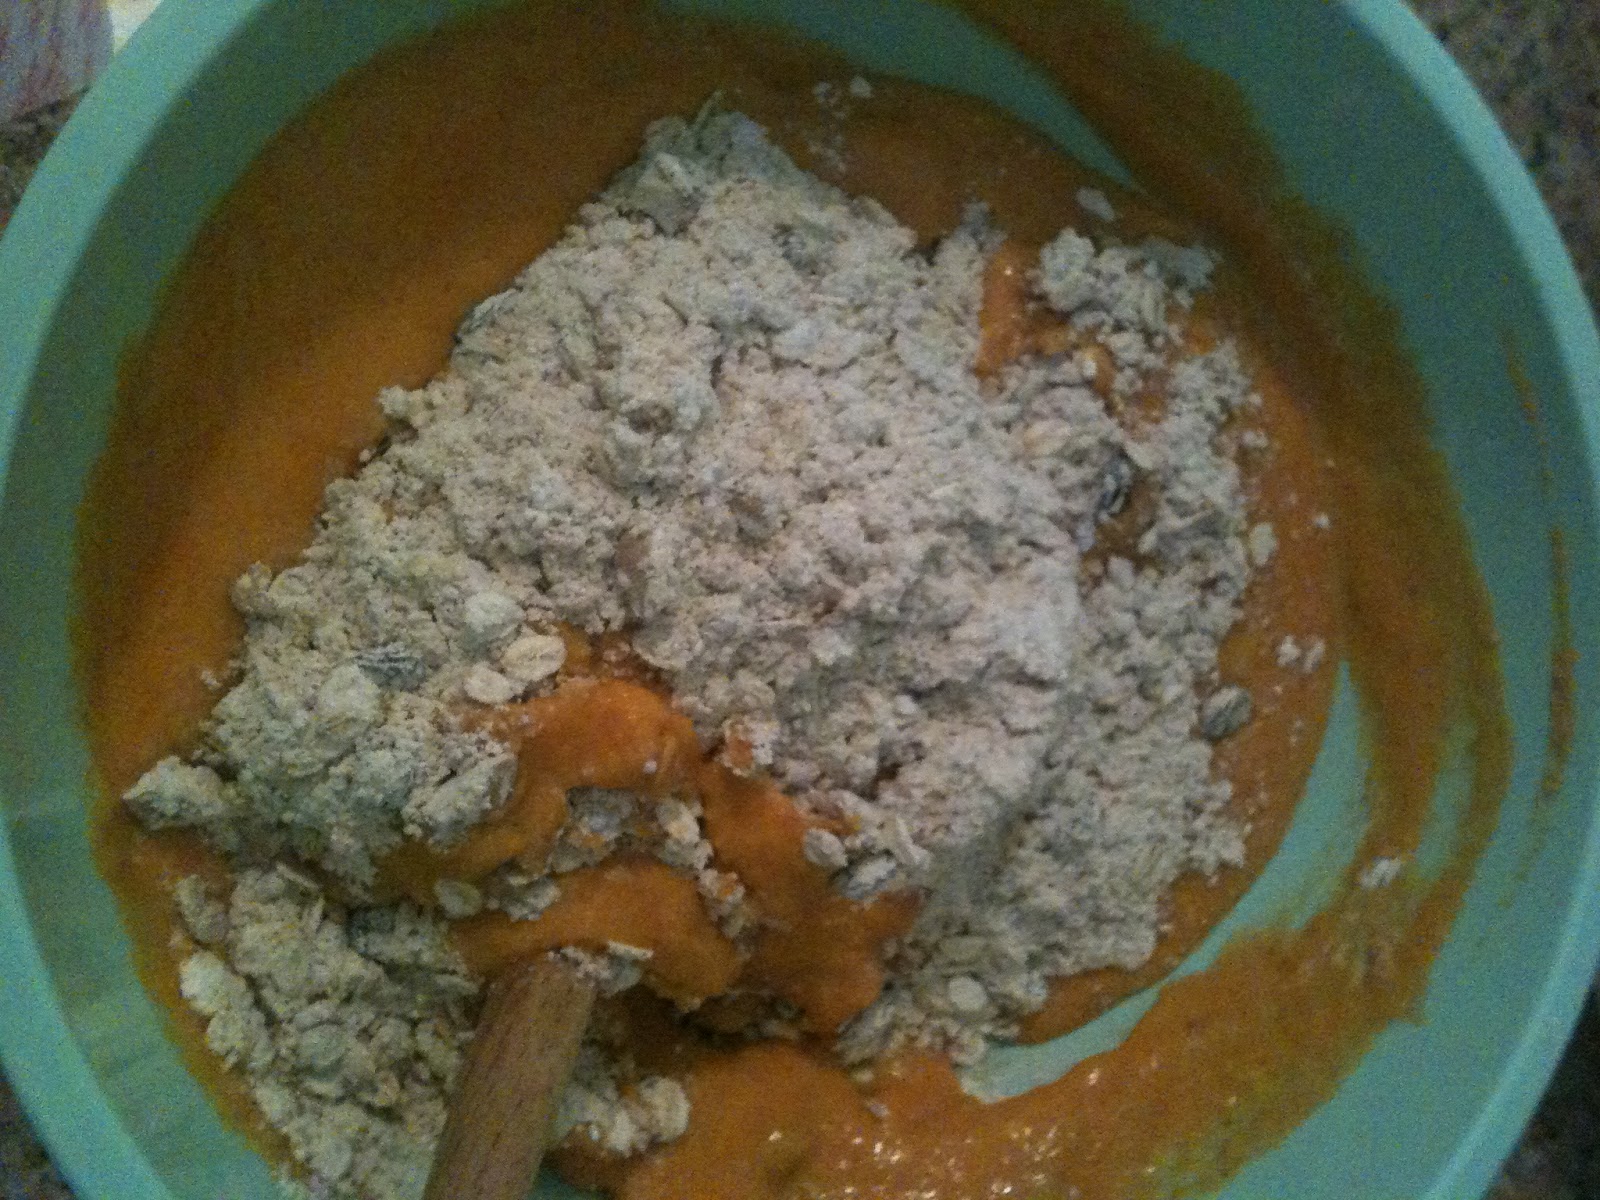
Make sure you don't over mix!  You will get flat little concrete balls if you over mix :)  Not yummy!  I just folded the wet into the dry by making large circular motions with the spatula.  Remember to make sure you get all the dry ingredients from the bottom of the bowl...they would get their feelings hurt if you left them out.

Here is what it looks like when it is completely mixed:


When you have all the ingredients mixed together, it's time for the muffin tin!  I used muffin or cupcake wrappers for 12 and then I had enough batter to fill up 4 more with out the wrappers.  I also added a sprinkling of oatmeal to the tops of the muffins.  I think it looks pretty :)


I baked mine for about 22 minutes, took them out, and let them rest for about 5 minutes before turning them out onto the rack. 


While they were cooling, I whipped up some cinnamon butter!  YUM!  All I did was take about half a stick of softened butter and creamed in about a teaspoon of sugar and a quarter teaspoon of cinnamon.  You can do this with basically any flavoring, but I thought cinnamon would be perfect for these!


Time to smooth that yummy cinnamon butter onto the warm muffin! [Drool]


After tasting these, I actually like the ones that did not have the wrappers.  They got this yummy caramelized crust on them that was chewy and delicious!  So I would suggest not using the wrappers and going naked into the muffin tin! 

I would say that these are a make again, but maybe a little on the underwhelming side.  The pumpkin flavor isn't that prominent.  Maybe add a little more pumpkin and some more cinnamon to bring out the flavor?  Over all, I would give it a B.  But still yummy for Sunday morning!

Let me know what you think!

Leah

Saturday, February 18, 2012

Easy Delicious Cinnamon Rolls

I was walking through the mall the other day and was hit by a waft of buttery, sugary, spicy goodness...of course it was the cinnamon roll store!  Yummmm.  The cinnamon rolls are the size of a child's head and probably contain a pound of butter and and at least a pound of sugar.  Not to mention the flaky yet chewy pastry...  It's like heaven!  But the only thing worse than having to pass by the cinnamon roll store [looking longingly at the sweet delicious pasties] is waking up on Saturday morning and wanting a home made cinnamon roll hot out of the oven.  Of course you don't want to have to make the complicated yeasty pastry, so you end up popping open a can of refrigerated rolls.  Thankfully, Ina Garten has come to our rescue and developed this easy, quick recipe for delicious cinnamon rolls! 


Project Easy Puff Pastry Cinnamon Rolls

Here is the link to Ina Garten's recipe.

You can make this recipe with things you probably already have in your pantry.  If you don't keep a package of puff pastry in your freezer, it might be a good time to think about it.  Puff pastry is a great shortcut for so many things [chicken pot pie, easy apple tart, fun roll up appetizers...]  The hardest thing to do in this recipe is remembering to defrost the puff pastry.  You can defrost it over night by just placing it in the frig, or you can just set it out on the counter for 40 minutes.  [I always forget and end up putting it in the preheating oven for about a minute to get the frost off.] 

I actually halved the recipe since Matt and I don't need 12 cinnamon rolls sitting around calling our names...we only need 6 doing that.  Ha.  We start with mixing the glaze that goes into the muffin tin.  Ina says to use a mixer, but if your butter is soft enough you can just use a fork like I did.  Once the butter and brown sugar are combined, refrain from spooning it directly into your mouth and divide it equally between the muffin tins.  Then sprinkle the chopped pecans on top of the sugar butter mixture.  This will melt down and caramelize into a sticky, sweet gooey goodness. 


Now it's pastry time!  Pull out your thawed puff pastry dough and put it on a clean floured surface.  I use a large cutting board since I have granite tile counter tops.  Unfold the pastry so that the fold lines lines are vertical.  Ina doesn't say to, but I rolled it out a little with a rolling pin to smooth out the fold lines a little.  Then you brush the pastry with the melted butter, sprinkle on the sugar, cinnamon, and raisins, and you are almost done! 

Roll the dough up from the bottom to the top into a log.  Then use the fold lines as your guide to cut the log into three sections.  Then cut each of the three in half making 6 rolls.  Ina says to trim the ends off, but I just left mine on.  No reason to throw out perfectly good puff pastry!  Now you will put the rolls into the muffin tin spiral side up.  Put them in the oven and in 30 minutes or so, we have our yummy rolls!


Now time to wait...and check on my little cutie.  She's being so good in her swing!


Ina says to bake for 30 minutes until golden to dark brown.  I checked mine at 25 minutes and they looked pretty much done.  I took them out at about 28 minutes.  This is what they looked like...


Don't freak out [like I did] that the caramely spill-over will be stuck there for eternity...it comes of easily when you flip them over thanks to all that butter!

Time to flip!  Ina says to flip them out onto parchment paper, but I used a cookie sheet and a Silpat.  You can use anything to flip these onto...foil, wax paper, a platter...anything you want.  Oh, almost forgot.  You need to wait 5 minutes before you turn them out.  Here is what they look like.


You will need to scoop out some of the topping and redistribute to the rolls.  And here is the final product!  Yummm.


Upon first bite, I thought I had over cooked them because some of the sugar had gotten a little too caramelized and was a little bitter.  Other than that, these were delicious!  What a great easy way to get the delicious taste of cinnamon rolls or sticky buns without the can or the long complex recipe!  The only thing I would do is possibly add more cinnamon and maybe a cream cheese glaze [if I really wanted to OD on the sugar].  And as Ina would say, "How easy is that!"


I would definitely make this one again!  Thanks for reading.  I would LOVE to hear your feedback and any suggestions on things to make.  Leave me a comment :)

Thursday, February 16, 2012

Alton Brown's Marshmallows!

It's a cold, gloomy day, and all you want is a nice toasty mug of hot chocolate.  But wait, you can't just have the hot chocolate by itself!  You need a big, fluffy, gooey marshmallow on top!  I never thought to actually make the marshmallow for my hot chocolate, but I stumbled across an episode of Good Eats on the Food Network a while back where Alton Brown made the delicious treats from scratch.  I figured, if Alton has made them, then I can make them!  Alton Brown's recipes are unusually detailed and very easy for a gal like me [with no candy making experience] to follow.  So, here we go!


Project Marshmallow

Here is the link for Alton Brown's recipe.

I followed it to the T [not really sure what the T actually is, but that's how the expression goes...].

First you have to bloom the gelatin [sprinkling the gelatin over the water and letting it sit].  This requires ice cold water, as Alton calls for.  I used a large liquid measuring cup with ice water in it, and measured the correct amount needed into a smaller measuring cup.  This way you can be sure to get the correct amount of water and no ice.  The gelatin will start to look clumpy and begin to set up quickly.


While you let that sit, you prepare the sugar syrup.  Just add the remaining water, sugar, syrup, and salt into a covered heavy bottomed sauce pan on medium high heat.  I just stirred it once to combine the ingredients and just let it bubble away for 3-4 minutes.  Then, uncover and attach a candy thermometer to the side of the pan, but don't let the bottom of the thermometer touch the bottom of the pan [or you will get an incorrect reading].  You want the mixture to bubble away until it reaches 240 degrees or the soft ball stage.  Alton says it may take 7-8 minutes.  It took mine about 7 minutes to reach 240.  If you don't have a candy thermometer, you can drop some of the syrup into some cold water and if it forms a soft, pliable ball, you are at soft ball stage.  Take a look at this video to see how to test it this way.  Here is what it looks like when it is at 240 degrees [soft ball stage].


After it reaches this stage, Alton says to take it off the heat right away so that it doesn't get too hot.  Then you will turn on the mixer with the whisk attachment, and slowly pour in the sugar syrup down the side of the mixer bowl.  The mixture will steam and start to become white and glossy.  Here is what it will look like.

after all sugar syrup was added

adding sugar syrup


After all of the syrup has been added in, make sure your mixer is cranked up to high speed and let her go!!  Let it whip for 12-15 minutes until the mixture is poofy, glossy, and luke warm.  You will see a bunch of steam coming up from the bowl.  It's starting to look like marshmallow fluff now!

While the mixture is whipping, you can prepare the pan.  If you have ever made s'mores or Rice Krispy treats, you know that hot marshmallow is VERY STICKY!  In order to get the stuff out of the pan once it is cooled and firm, we have to use some kind of barrier that will not stick to the pan.  Alton uses a mixture of corn starch and powdered sugar.  To get this mixture to stick to the pan before pouring in the marshmallowy goodness, you will need to spray the pan with non stick cooking spray.  If you don't have that, you can use a light coating of shortening.  Then you pour the cornstarch sugar mixture in and move it around to cover all the sides and the bottom fully.  If there is a bare spot, the marshmallow will hunt it down and find it [thus becoming a sticky mess once you unmold it].  Keep the remaining powder in a bowl to sprinkle over the top of the marshmallow.

Back to our marshmallow fluffing away...time to add the flavoring!  Once the fluff has been whipping for at least 12 minutes, and it's thick and fluffy, you can stop the mixer and add the flavoring and any other mix in you want. 

after whipping for 12 minutes

I used a vanilla bean paste to flavor mine, but you can use any flavoring you want.  Alton calls for 1 teaspoon, but I would up it to 2 teaspoons [mine came out kind of bland].  I also added in a little pink food coloring.  You can add in just about anything at this point...red food coloring + peppermint extract + peppermint bits...almond extract + almond bits...use your imagination!  After you add in the flavoring, turn the mixer back on for another minute to incorporate, and then you are ready to pour out the marshmallow.

Pour the delicious fluff into your prepared pan, and use a greased spatula to smooth out the marshmallow.  Remember, this stuff is super sticky, so spray your spatula with the non stick spray or coat it with some shortening before attempting to touch the marshmallow.  Once the marshmallow is spread out in the pan, sprinkle the remaining powder mixture on top.  I used a piece of parchment to even out the top of the marshmallow. 


 Now you get to lick the beater!!  Lucky you.  Chobee was very jealous...


jealous puppy
Alton says to let the marshmallow sit for about 4 hours before you start to cut it into shapes.  After waiting the long 4 hours, you can turn out the rectangle of marshmallow onto a cutting board, and cut away!  Since you expose the inside of the marshmallow when you cut it, remember to powder up your cutting utensil [because it's crazy sticky, remember].  I use a pizza wheel to cut long strips and cut again into cubes.  You can also use cookie cutters...remember to dip them in the reserved sugar powder. After you cut the shapes, dip the exposed sides into the powder as well.  I dusted them off with a pastry brush before serving.  I actually had to make more of the sugar cornstarch powder...

I cut half of mine into squares and half into hearts [they were pink, so I had to do it ;)].


Over all, I would make this recipe again.  I love Alton Brown's recipes.  He doesn't leave anything out!  The only thing I would change is to add a little more of the flavoring.  Mine turned out a little bland with the teaspoon, but that is an easy fix! 

I hope you enjoy your marshmallowy goodness!  I know I did.  Let me know what you think!


Tuesday, February 14, 2012

Hello Everyone!


Hi.  My name is Leah Montgomery, and I am a craftaholic and a bakeaholic.  The last time I crafted or baked was...well...today...and I love every minute of it!  I am starting this blog to share my opinions on crafting, baking, cooking, and just about anything else that is homemade.  I will be searching for things to make, and let you know if I think it is worth making or worth skipping.  You may be asking, "What kind of expert is this girl that gives her the right to deem something worth making?"  Well...I'm not an expert!  That's the beauty of it!  I'm just like you.  A girl who likes to make stuff...and needs someone else to tell her how to do it!

I want to help you by sharing my experience with you.  Is it worth the time in your busy life to make it?  Is it worth the effort?  Do the directions actually create what you want?  How can you make it easier and better?  That is what I want to provide.  Hopefully you will enjoy reading and making some of it yourself!


A little about me.  I am 31 years old and live in the burbs in Snellville, GA.  Snellville is just about 20 minutes East of Atlanta.  I live in our cute little brick ranch with my hubby of almost 3 years [Matt], our sweet little baby girl of 2 months [Ellis], and our sneaky Chesapeake Bay Retriever [Chobee].  I have been a crafter and baker all my life, but by no means call myself an expert!  I just love doing it!  It combines my big artistic side with my smaller OCD side.  I love being creative, and I love doing it right! 

I hope you continue to read my blog and leave me comments.  I would also love suggestions on things to make!  If you are interested in making something, but want a guinea pig to try it out first, I'm your gal! 

Thanks!

Leah